Crucial Tips for Effective Drywall Repair and Installation Methods
Reliable drywall repair work and setup calls for a careful strategy. Understanding the kinds of drywall and having the right tools is important. Proper techniques and accurate measurements can significantly affect the outcome. Several forget crucial steps like taping and sanding, which can make or break the last look. As jobs proceed, typical obstacles might emerge that need focus. Exploring these tips can result in an extra successful and polished coating.
Understanding Different Sorts Of Drywall
Recognizing the various kinds of drywall is essential for any type of effective repair or installment job. Drywall, commonly referred to as plaster board, can be found in several selections customized for specific applications. Standard drywall is the most extensively made use of kind, ideal for general interior walls and ceilings. Moisture-resistant drywall, frequently eco-friendly in shade, is created for areas prone to moisture, such as restrooms and kitchens. Fire-resistant drywall, typically colored pink or purple, is engineered to stand up to higher temperature levels and is commonly utilized in garages or near heaters. Additionally, soundproof drywall helps minimize noise transmission, making it suitable for multi-family homes or taping workshops. Specialized drywall, like cement board, is used in wet locations like showers or bathtub borders. Recognizing these kinds helps in selecting the appropriate material for every job, guaranteeing durability and efficiency in repairs or new installations.
Vital Tools for Drywall Fixing and Setup
Having the right devices is essential for reliable drywall fixing and setup. A top quality utility knife is essential for reducing drywall sheets exactly. A drywall T-square aids assure straight sides, while a taping knife is necessary for using joint substance efficiently over joints. In addition, a drywall saw permits eliminating damaged areas or fitting drywall around fixtures.
For hanging drywall, a power drill with drywall screws is vital, as it enables protected and quick setup. A degree is also essential to validate that the drywall is straight and effectively straightened. Once it has dried out, a fining sand block or post sander is vital for smoothing out joint substance. Ultimately, a determining tape is important for exact measurements, stopping waste and making sure a proper fit. Outfitted with these tools, individuals can deal with drywall jobs effectively, resulting in professional-looking outcomes.
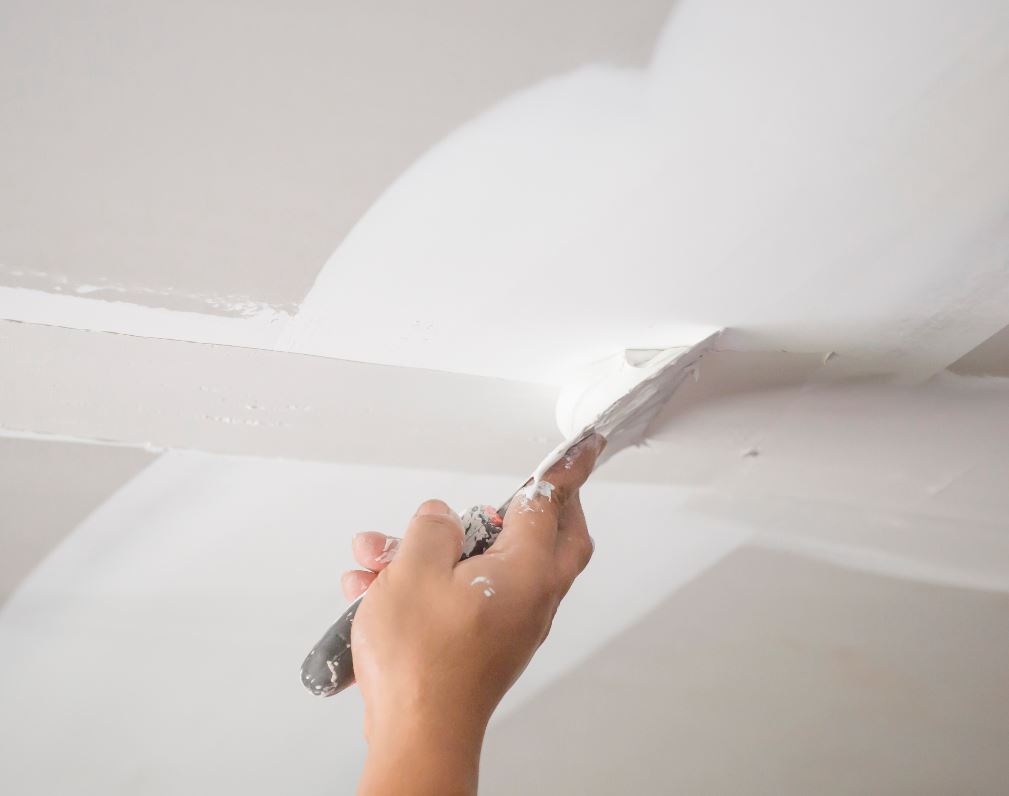
Step-by-Step Guide to Repairing Holes and Cracks
When resolving holes and splits in drywall, having the right devices and products is crucial for a successful repair. This overview describes the necessary items and supplies a clear, detailed procedure to successfully restore the surface. Comprehending these components will certainly assist assure a seamless surface and resilient outcomes.
Devices and Products Needed
A fully equipped toolkit is important for efficient drywall repair service and installation. Key devices consist of an utility knife for reducing drywall, a measuring tape to ensure accurate sizing, and a drywall saw for bigger holes. A putty blade is essential for using joint compound smoothly, while a sanding block or post sander assists accomplish a seamless finish. For patching, a roll of fiberglass mesh tape or paper tape is required to enhance joints. Additionally, a drill and screws are needed for safeguarding brand-new drywall items. Important materials contain joint substance, primer, and paint to finish the repair. Having these devices and materials accessible ensures a smoother, more effective fixing process, producing professional-looking outcomes.
Repair Service Process Actions
Fixing openings and fractures in drywall calls for an organized technique to guarantee a smooth surface. The location surrounding the damage ought to be cleaned thoroughly to eliminate dust and debris. Next, for little cracks, a putty blade is made use of to use a joint substance uniformly over the area. For bigger openings, a patch is needed; the harmed section is eliminated, and a new item of drywall is suited location, safeguarded with screws. As soon as the patch is in placement, joint compound is put on mix the edges. After drying out, fining sand the area smooth is important. The repaired surface area should be keyed and painted to match the bordering wall, guaranteeing an inconspicuous repair.
Techniques for Setting Up Drywall Panels
Setting up drywall panels requires cautious planning and exact implementation to guarantee a professional and smooth coating. First, it is vital to determine the wall room properly and reduce the panels to fit, making certain that they line up with the studs. Placing the panels horizontally is typically advised, as this can improve the architectural honesty and minimize the variety of joints.
Using drywall screws, installers must safeguard the panels every 16 inches along the studs, guaranteeing a company hold. It is crucial to prevent overdriving look at this site the screws, which can damage the paper surface area. For edges and corners, using an utility knife permits clean cuts and a snug fit.

Ending Up Touches: Insulation, Mudding, and Sanding
When the drywall panels are safely in location, the following essential step includes the complements of taping, mudding, and sanding. Taping is crucial for creating a seamless change in between panels and hiding joints. A high quality drywall tape, either paper or fiberglass mesh, must be applied over the joints, guaranteeing it sticks properly to the mud that will certainly be used following.
Mudding, or applying joint compound, complies with the taping process. This substance fills up spaces and ravel the surface area. An initial layer ought to be used generously, feathering the edges to blend with the drywall. After the preliminary coat dries, subsequent layers may be required for a remarkable finish.
Ultimately, fining sand is needed to achieve a smooth surface. A fine-grit sandpaper ought to be used to delicately smooth out any kind of imperfections. Care must be taken to stay clear of over-sanding, which can harm the drywall - Drywall Repair Ogden UT. Correctly executed, these ending up touches create a specialist appearance prepared for paint
Tips for Maintaining Your Drywall After Installation
Keeping drywall after setup is vital to protecting its this look and structural integrity. Regular cleaning is required; dirt and dust can accumulate, so mild cleaning with a moist cloth is suggested. Homeowners should likewise inspect for any type of signs of dampness or mold, particularly in high-humidity areas like kitchens and bathrooms. If any kind of damage occurs, it's essential to resolve it without delay to avoid additional issues.
Making use of furnishings pads can assist prevent scratches or dents from heavy products. Furthermore, painting the drywall with a premium, washable paint gives an additional layer of security and makes future cleaning easier. Avoid making use of abrasive cleansers or tools, as these can damage the surface area. Maintaining a secure interior climate with suitable humidity levels will assist protect against cracking or buckling over time. By following these suggestions, one can assure that drywall continues to be in exceptional problem for years ahead.
Often Asked Inquiries
How Long Does Drywall Require To Completely Dry After Installment?
Can I Set Up Drywall Over Existing Drywall?
Yes, drywall can be installed over existing drywall, but it is vital to ensure the underlying surface area is safe and secure and sufficiently prepared. This method can enhance insulation and reduce installation time, though it might include weight.
What Is the Best Method to Soundproof Drywall?
The ideal means to soundproof drywall includes using specialized soundproofing products, such as resilient networks, acoustic caulk, and sound-dampening drywall. These techniques properly lessen audio transmission between rooms, boosting overall acoustic performance in living areas.
How Do I Choose the Right Drywall Density?
To pick the best drywall thickness, think about the application and location. Standard residential walls commonly make use of 1/2 inch, while ceilings or specialized locations may require 5/8 inch for extra strength and soundproofing abilities.
Are There Eco-Friendly Drywall Options Available?
Yes, why not try here environmentally friendly drywall alternatives are offered. These consist of products made from recycled products, gypsum boards with low unpredictable organic compounds (VOCs), and those utilizing lasting production processes, providing environmentally-conscious choices for building and construction and remodelling projects.
Having the right tools is essential for reliable drywall repair work and installation. For hanging drywall, a power drill with drywall screws is vital, as it allows secure and fast setup. Trick tools include an energy blade for cutting drywall, a tape action to assure accurate sizing, and a drywall saw for bigger holes. Yes, drywall can be mounted over existing drywall, however it is necessary to ensure the underlying surface area is safe and effectively prepared. The ideal way to soundproof drywall involves utilizing specialized soundproofing materials, such as resistant networks, acoustic caulk, and sound-dampening drywall.